Description
*The Swede Wrap technique is an amazing way to straighten wobbly coins.
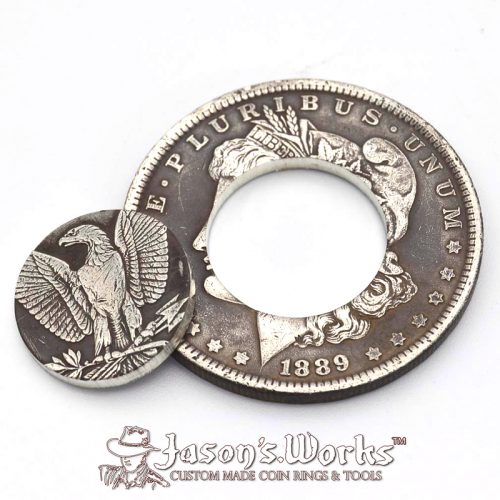
*Now you can make the smallest rings form the biggest coins.
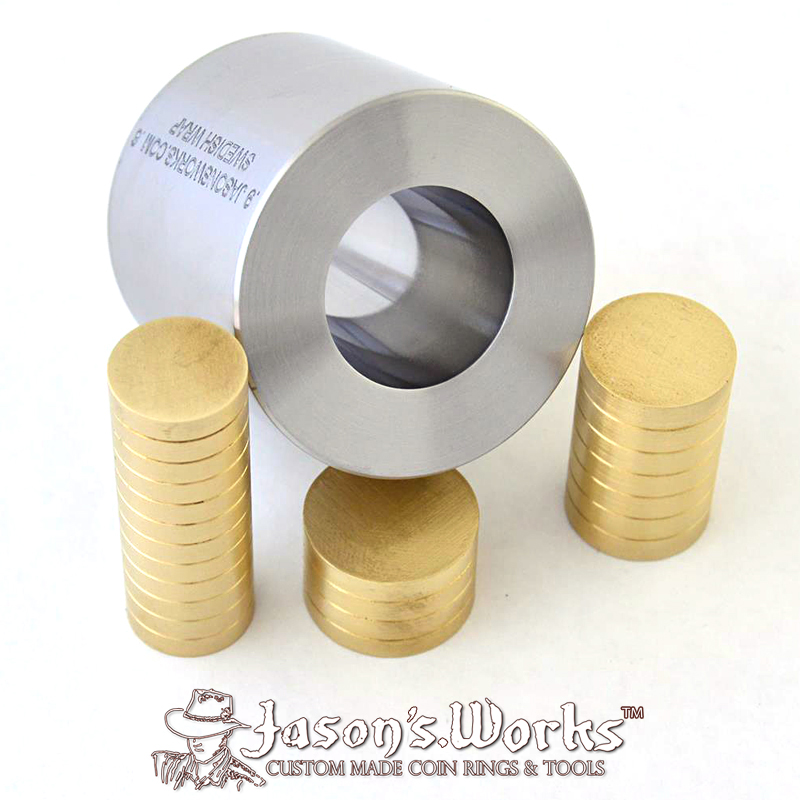
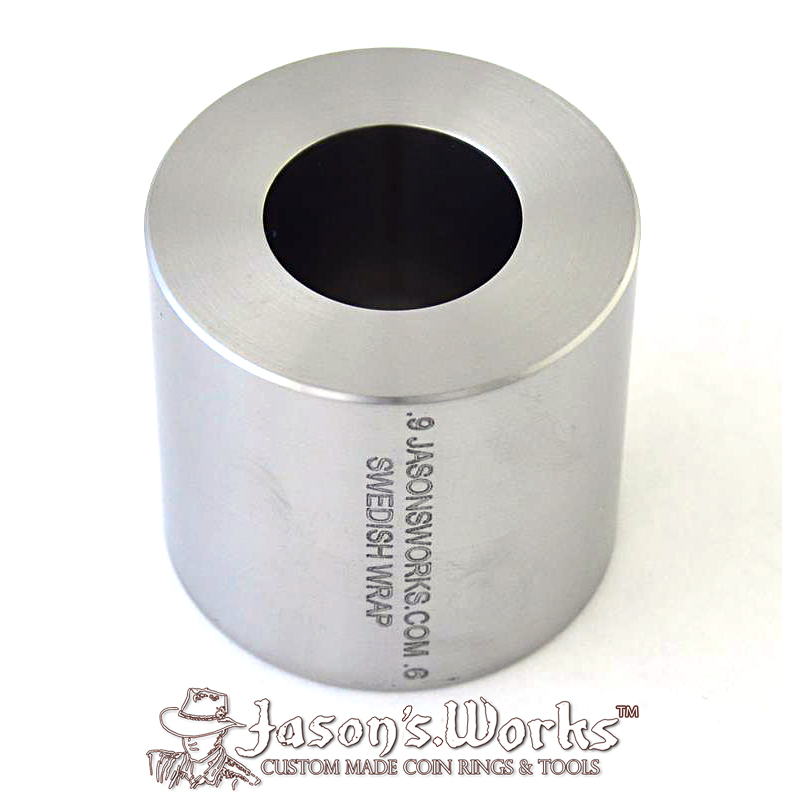
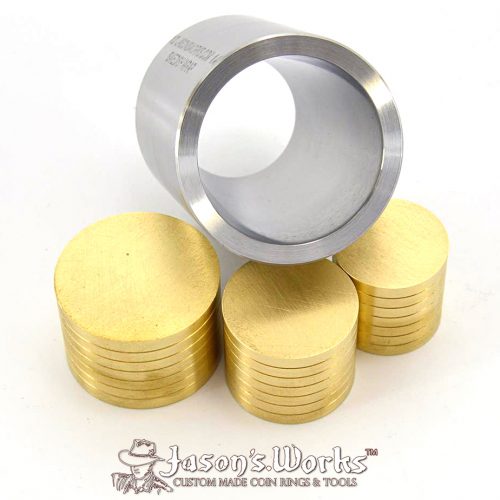
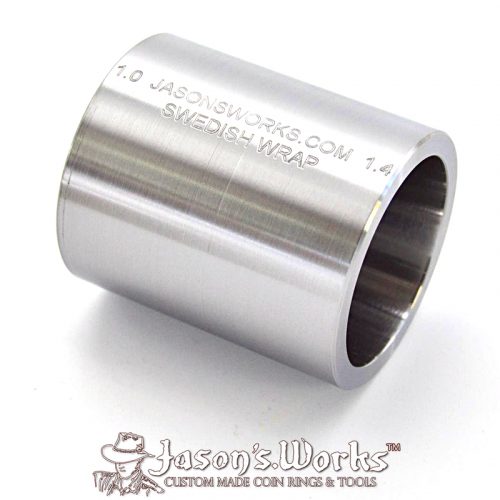
Use this third die (.6 x .9) to extrude dime sized coins to size 1.5, quarters to size 0, half dollar sized coins to size 0000. With the other 17 degree and 25 degree dies offered on this site, you can reduce even further to make beads! When used in conjunction with the larger Swedish die, turn Silver Eagles, Morgans and brass medallions into beads!
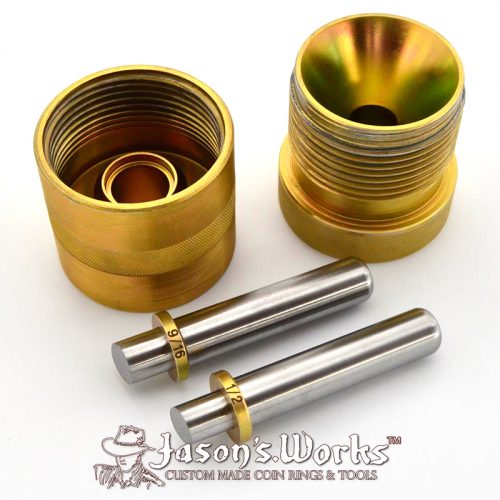
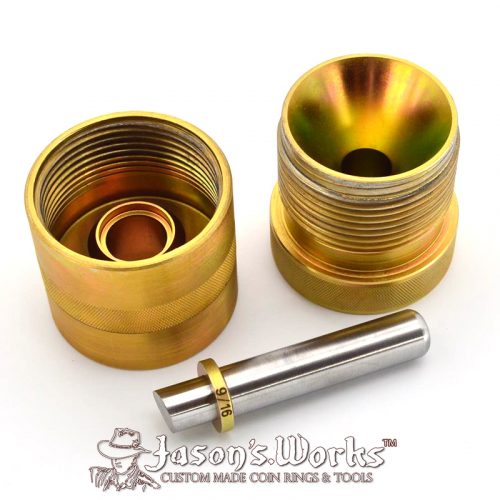
I like to reduce the ring to about 2 or 3 sizes larger than my target size. Once I reach that point, I then use my 17 degree die (whichever one the ring fits in) and then finish with the 25 degree die for a soft “fat tire” look.
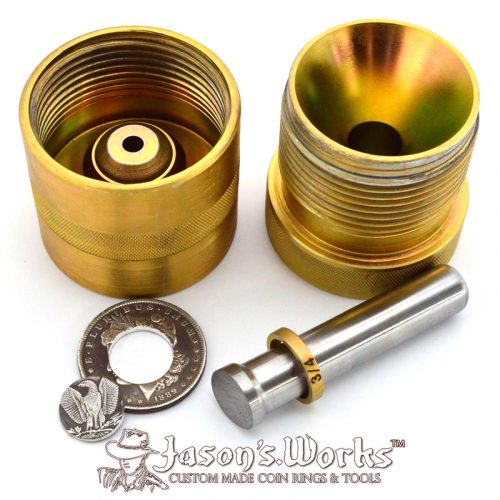
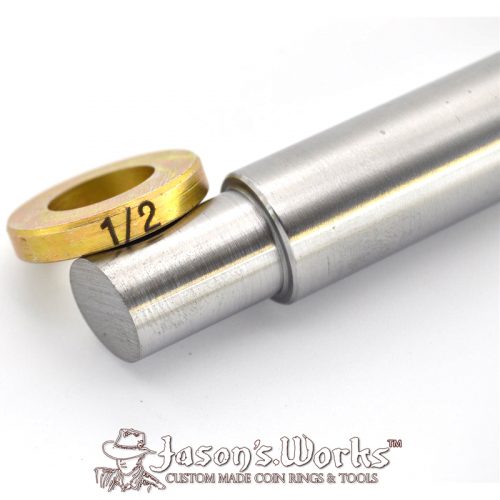
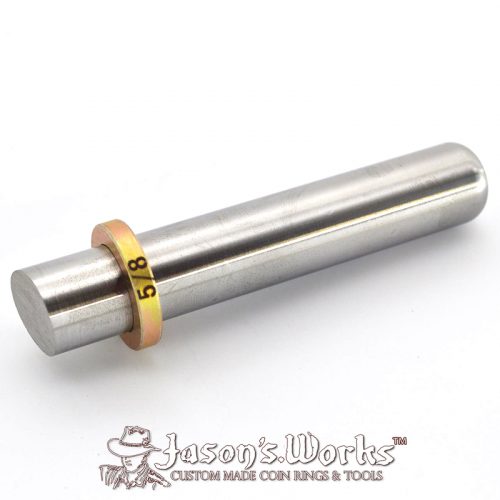
The witness lines on the bronze plungers allow you to see accurately how far you are pressing the coin. After some practice, and note taking, you can easily know when you have reached your desired reduced size.
Using the arbor press or hydraulic press allows for 100% of the die to be used. The trick is to extrude the ring out of the bottom for the smallest possible size (Thank you Mike Henry for that technique!) A special feature has been added at the base of the die for proper extrusion. Use the “Ring Bearer” for the most efficiency.
*NOTE: Be sure to not over press the plungers when using a hydraulic press. Know where each plunger bottoms out prior to pressing. Use the witness lines on the plunger to assist with this.
*NOTE: Remember the 5 most important steps in the Swedish Wrap method.
1. Anneal a lot. Preferably once for every plunger distance when working with silver. Up to two with brass. Better to anneal too often than not enough.
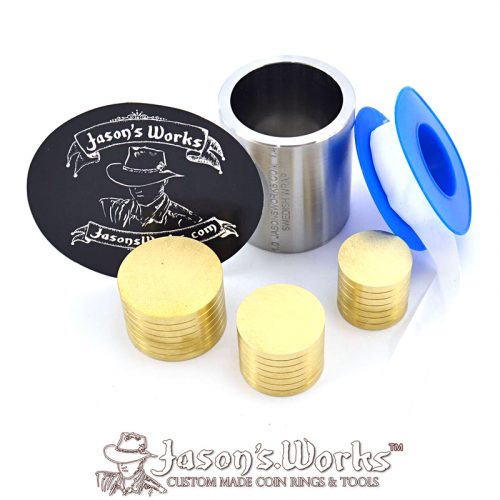
2. Use lots of pipe tape, re-wrap after each press/anneal. Better to use too much than too little. I wrap up to 30 times for a half dollar and 40 times for a dollar if I’m using the thin tape. It depends on the thickness of the tape and how tough the coin is. Luckily it’s cheap. Rolls can be found for well under a dollar at stores or online.
3. It is better to press the reeded side. Prior to pressing, make sure the plunger completely covers the reeded side of the coin. If it does not, use a 17 or 25 degree die to fold in the reeded side until the plunger covers the reeded side.
4. Do not over-press the plungers when using a hydraulic press or large arbor press. Know where each plunger bottoms out on the dies.
5. Feel free to experiment with different ideas and have fun!
*A special thank you to Mikael Möller, Robert Gibb (BFG Coin RIngs), Bob, Russ, Troy, Mike Henry, Adam McKinney, Skyler Jenkins (Coin Rings by the Mint), Rocky Workman, Joshua Janes and countless others on Coin Ring Crafters on Facebook. You all made this possible! :)
*COINS AND RINGS NOT INCLUDED*